Windows 8 Can't Boot Into Safe Mode

Many times in order to remove a piece of spyware or for troubleshooting and diagnostic purposes, you'll have to start Windows in Safe Mode. While in Safe Mode, only specific programs and files needed to run the operating system are loaded. This will allow you to remove attempt to remove viruses, change bad drivers and other diagnostic tasks that cannot be removed in Normal Mode. Follow the instructions below to start Safe Mode for your specific version of Windows.


Set your computer to boot into Safe Mode. This step only works if your computer is currently able to access Windows normally. If you cannot access Windows, check the next step.
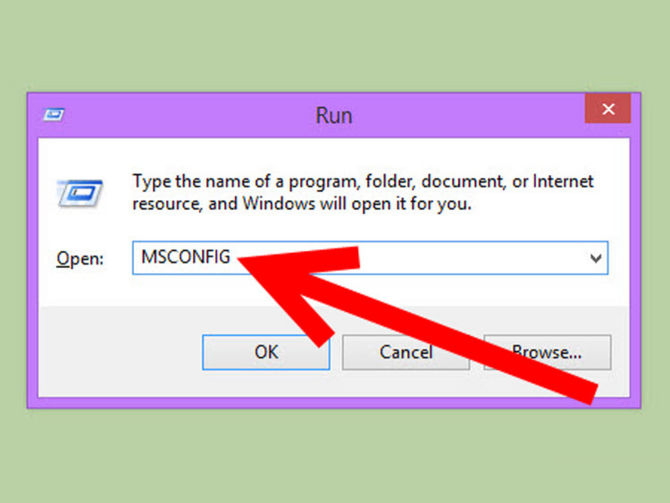
Open the Run dialog. You can access this by pressing the Windows + R keys.

Start Windows in Safe Mode Step 1Bullet1 Version 2.jpg

Type “msconfig” and press Enter.

Start Windows in Safe Mode Step 1Bullet2 Version 2.jpg

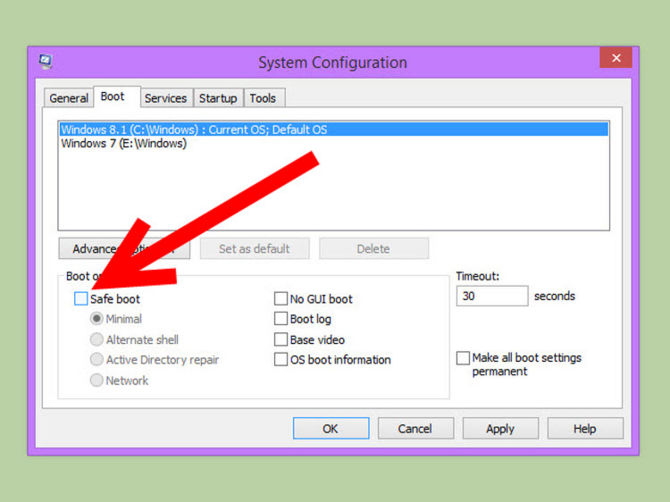
Click the Boot tab. Check the “Safe boot” box and select “Minimal” for a typical safe boot. Click Apply and your computer will boot into Safe Mode next time it restarts.

Start Windows in Safe Mode Step 1Bullet3 Version 2.jpg

This will make your computer boot to Safe Mode every time. To undo it, repeat these steps and uncheck the “Safe boot” box.

Start Windows in Safe Mode Step 1Bullet4 Version 2.jpg

Start Windows in Safe Mode Step 2.jpg

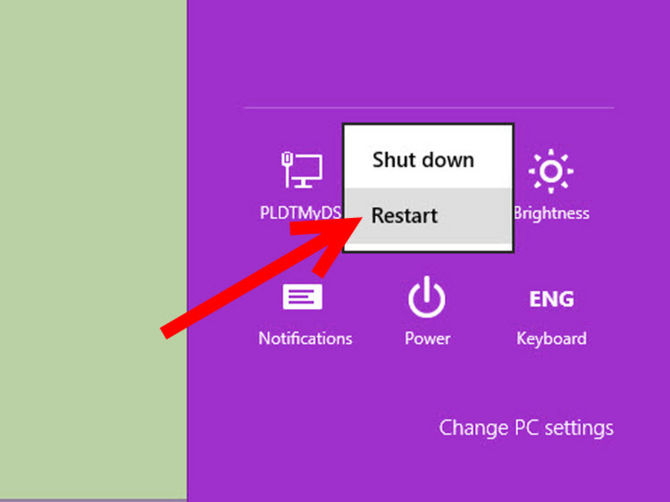
Click the Power button on the Sign-In screen. Use this method if you cannot sign into Windows properly. Hold the Shift key and click Restart from the Power menu. This will open the Startup Settings after the computer reboots.


Start Windows in Safe Mode Step 3.jpg

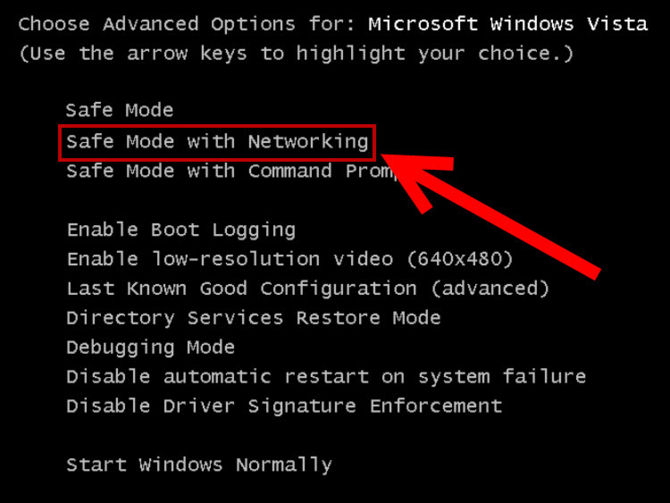
Select Safe Mode. Once you’re in the Startup Settings menu, scroll down and select Safe Mode with Networking from the list. If you think the network interface may be what is causing problems, you can open Safe Mode without it.

No comments:

Post a Comment